Transform Your Space With A Stunning Refinish Hutch: Click To Revitalize Your Décor!

Tips and Tricks for Refinishing Your Hutch to Perfection
Introduction
Welcome, Fashion Enthusiast, to this comprehensive guide on refinish hutch. If you’re looking to revamp your old hutch and give it a new lease on life, then you’ve come to the right place. In this article, we’ll delve into the world of refinishing hutches, providing you with expert tips and tricks to achieve a stunning end result. So, grab your paintbrush and let’s get started!
3 Picture Gallery: Transform Your Space With A Stunning Refinish Hutch: Click To Revitalize Your Décor!
What is Refinish Hutch?
Refinish hutch is the process of restoring and enhancing the appearance of an old or worn-out hutch. It involves stripping off the old finish, repairing any damages, and applying a new finish to give the hutch a fresh and updated look. Whether you have an antique hutch that needs a touch-up or a modern one that no longer matches your decor, refinishing can transform it into a beautiful and stylish piece of furniture.
Who Can Refinish a Hutch?
Image Source: ytimg.com
Anyone with a passion for DIY and a little bit of patience can refinish a hutch. You don’t need to be a professional carpenter or painter to undertake this project. With the right tools, materials, and guidance, even a beginner can achieve stunning results. So, don’t be afraid to unleash your creativity and tackle the refinishing process yourself.
When Should You Refinish Your Hutch?
The ideal time to refinish your hutch is when it starts showing signs of wear and tear or when you want to give it a fresh look. If the current finish is peeling, scratched, or faded, it’s a clear indication that it’s time for a refinishing project. Additionally, if you’ve recently changed your interior decor and the hutch no longer matches, refinishing can help you seamlessly integrate it into your new design.
Where Can You Refinish Your Hutch?
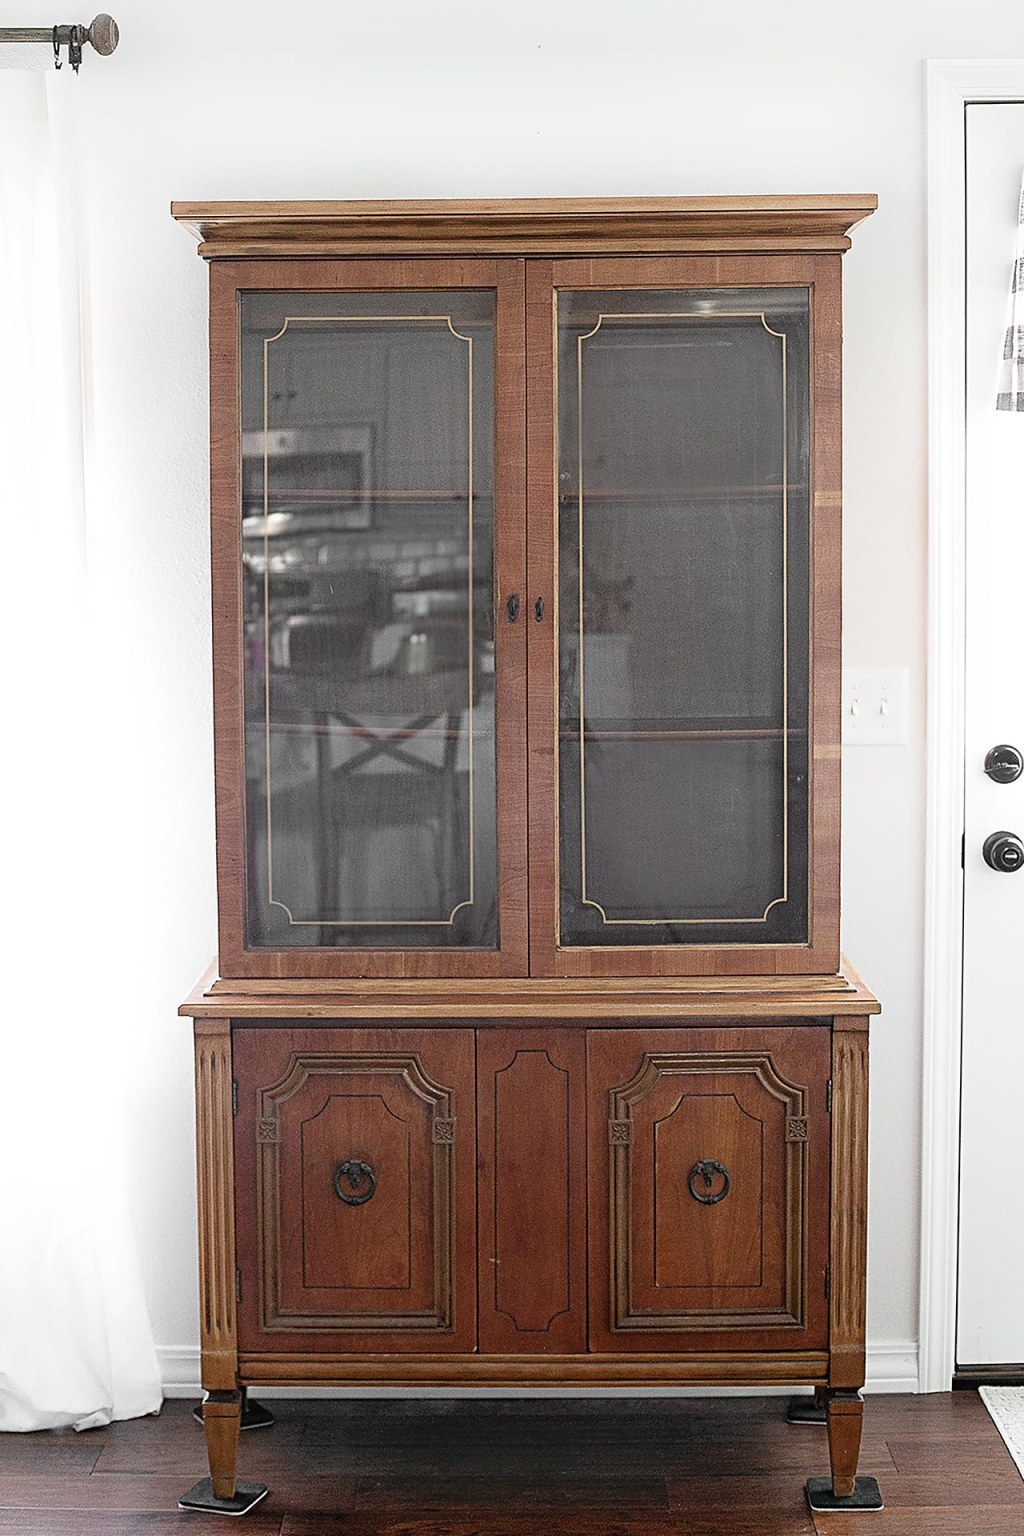
Image Source: livelaughrowe.com
You can refinish your hutch right in the comfort of your own home. Choose a well-ventilated area, such as a garage or outdoor space, where you can set up a workspace. Make sure to cover the surrounding surfaces and floors to protect them from any paint or stain spills. Having a dedicated and organized workspace will ensure a smooth and hassle-free refinishing process.
Why Should You Refinish Your Hutch?
There are several reasons why refinishing your hutch is a great idea. Firstly, it allows you to customize the piece according to your style and preferences. You can choose the color, finish, and even add decorative elements to make it truly unique. Secondly, refinishing can significantly increase the lifespan of your hutch by protecting it from further damage. Lastly, by refinishing instead of buying a new hutch, you are being environmentally conscious and reducing waste.
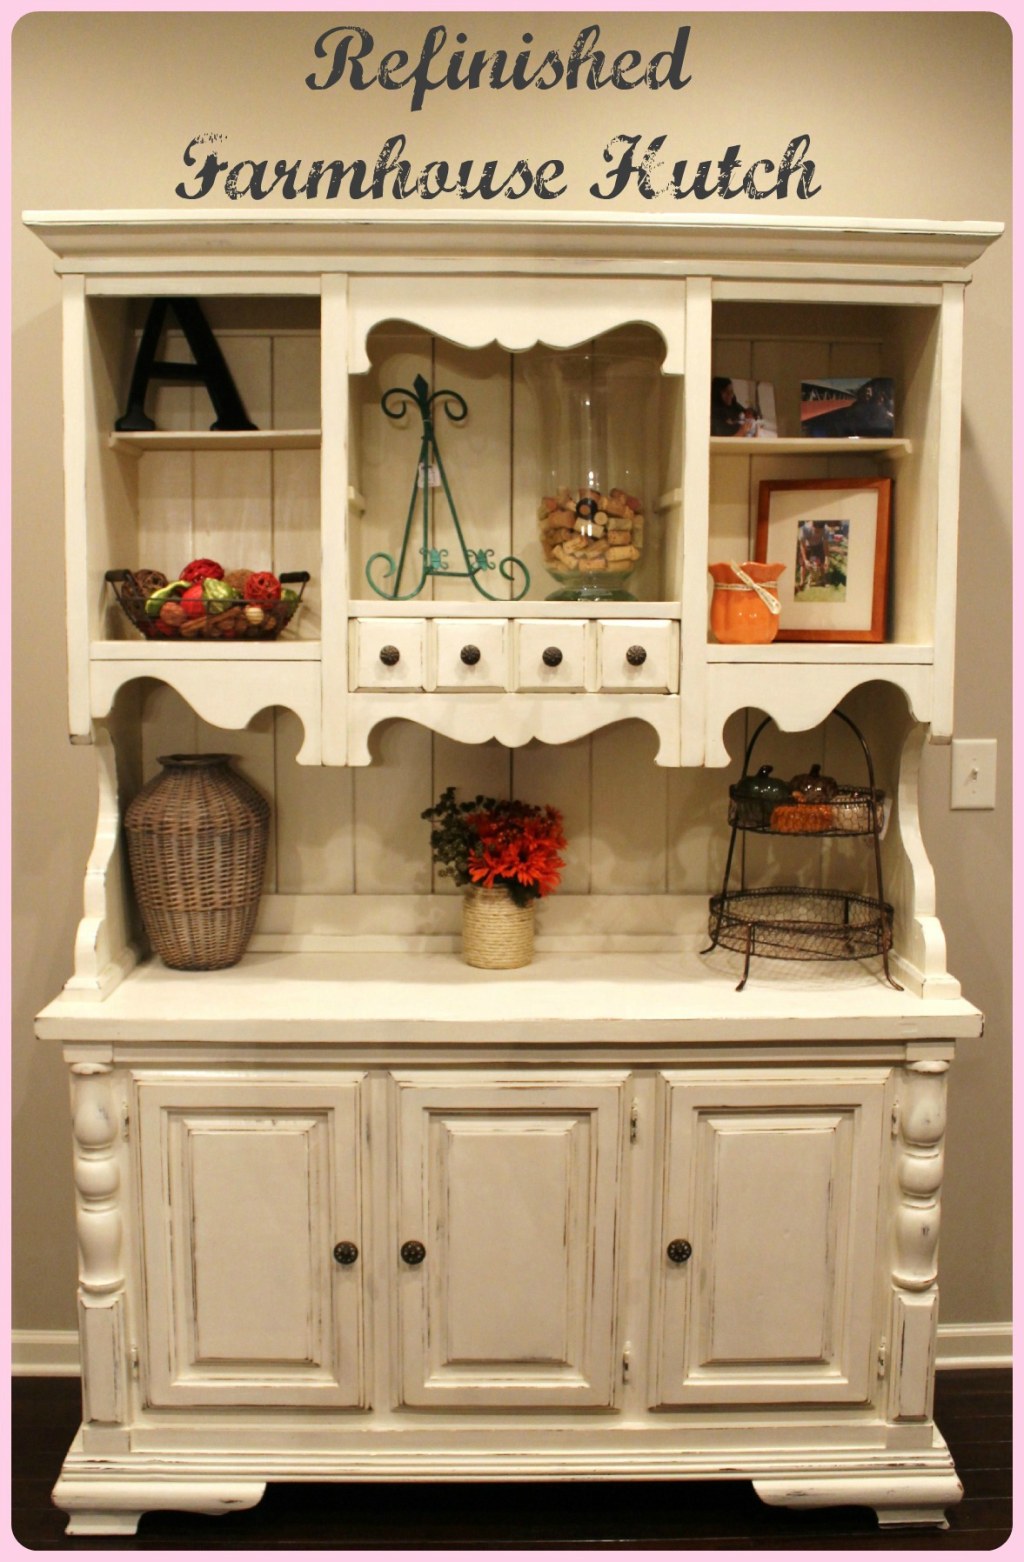
How to Refinish Your Hutch
Image Source: wordpress.com
Now that you understand the what, who, when, where, and why of refinishing a hutch, let’s dive into the how. Follow these steps to achieve a professional-looking finish:
Step 1: Preparation
Remove all hardware and doors from the hutch. Clean the surface thoroughly to remove any dirt or grease. Use sandpaper to lightly sand the entire hutch, creating a rough surface for the new finish to adhere to.
Step 2: Repair
Inspect the hutch for any damages, such as dents or scratches. Fill in these imperfections with wood filler and sand them down until smooth. This step will ensure a flawless end result.
Step 3: Prime
Apply a coat of wood primer to the entire hutch. This will create a smooth and even base for the paint or stain and improve adhesion. Allow the primer to dry completely before moving on to the next step.
Step 4: Paint or Stain
Choose your desired paint color or stain and apply it evenly to the hutch using a brush or roller. Follow the manufacturer’s instructions regarding drying times and the number of coats required. Don’t forget to paint or stain the doors and hardware separately.
Step 5: Seal
Once the paint or stain has dried, apply a clear topcoat to protect the finish and add durability. This step will also give your hutch a glossy or matte appearance, depending on your preference.
Step 6: Reassemble
After the topcoat has dried, reattach the doors and hardware to the hutch. Check for any touch-ups or areas that may need extra attention before placing your beautifully refinished hutch in its designated spot.
Advantages and Disadvantages of Refinish Hutch
Like any other project, refinishing a hutch comes with its fair share of advantages and disadvantages. Let’s take a closer look:
Advantages
1️⃣ Cost-effective: Refinishing your hutch is a more affordable option compared to buying a new one.
2️⃣ Customization: You have complete control over the color, finish, and style of your hutch.
3️⃣ Preservation: Refinishing can extend the lifespan of your hutch and protect it from further damage.
4️⃣ Eco-friendly: By refinishing, you’re reducing waste and contributing to a sustainable environment.
5️⃣ Creative outlet: Refinishing a hutch allows you to showcase your creativity and DIY skills.
Disadvantages
1️⃣ Time-consuming: Refinishing a hutch requires time and patience to achieve a professional finish.
2️⃣ Skill level: Beginners may face a learning curve and may need to practice their techniques.
3️⃣ Messy: The refinishing process can be messy, with paint or stain spills and dust from sanding.
4️⃣ Odor: Some paints and stains may emit strong odors, requiring proper ventilation during the process.
5️⃣ Limited results: Depending on the condition of the hutch, some damages may be irreversible.
Frequently Asked Questions (FAQ)
1. Can I refinish a hutch with veneer?
Yes, you can refinish a hutch with veneer. However, be cautious when sanding the veneer to avoid damaging it. Use light pressure and finer grit sandpaper to achieve a smooth surface without removing too much of the veneer.
2. Should I use paint or stain to refinish my hutch?
The choice between paint and stain depends on your desired outcome. Paint offers more color options and can hide imperfections, while stain enhances the natural beauty of the wood grain. Consider your style and the condition of the hutch before making a decision.
3. How long does the refinishing process take?
The refinishing process can vary depending on several factors, such as the size of the hutch, the complexity of repairs, and the drying time between coats. On average, it can take anywhere from a few days to a couple of weeks to complete the project.
4. Can I refinish a hutch without stripping the old finish?
While stripping the old finish is recommended for the best results, you can skip this step if the existing finish is in good condition. In this case, sanding the surface lightly and applying a new coat of paint or stain may be sufficient.
5. How do I maintain a refinished hutch?
To maintain a refinished hutch, avoid placing hot or wet items directly on the surface. Use coasters, placemats, or trivets to protect the finish. Clean the hutch regularly with a soft, damp cloth and avoid harsh chemicals that may damage the finish.
Conclusion
Now that you’re armed with the knowledge and steps to refinish a hutch, it’s time to embark on your own DIY project. Remember to take your time, follow the steps carefully, and unleash your creativity. The end result will be a beautifully refinished hutch that adds charm and elegance to your space. So, go ahead, and give your old hutch a new lease on life!
Final Remarks
Disclaimer: The information provided in this article is for educational purposes only. Always follow the manufacturer’s instructions and safety guidelines when undertaking any DIY project. Results may vary depending on individual skill level and the condition of the hutch. Proceed with caution and seek professional assistance if needed.
This post topic: Hutch


