Transform Your Home With An Amazing DIY Hutch – Click Here For Step-by-Step Guide!

DIY Hutch: A Guide to Building Your Own Stylish and Functional Hutch
Introduction
Greetings, Fashion Enthusiast! Are you looking to add a touch of style and functionality to your living space? Look no further than a DIY hutch. In this comprehensive guide, we will walk you through the process of building your own hutch, from the materials needed to the step-by-step instructions. Whether you’re a seasoned DIYer or a beginner, this article will provide you with all the information you need to create a stunning hutch that suits your personal style and storage needs. So, let’s dive in and get started on this exciting project!
2 Picture Gallery: Transform Your Home With An Amazing DIY Hutch – Click Here For Step-by-Step Guide!
What is a DIY Hutch?
🔍 A DIY hutch is a versatile piece of furniture that combines storage space with aesthetic appeal. It typically consists of a set of shelves or cabinets placed on top of a lower unit, providing ample storage space for various items. From displaying your favorite decor pieces to organizing your books and dinnerware, a hutch can be customized to fit your specific needs and style preferences.
Who Can Benefit from a DIY Hutch?
Image Source: flourandfloral.com
👥 Anyone who wants to maximize storage space while adding a stylish element to their home can benefit from a DIY hutch. Whether you’re a homeowner looking to declutter your living room or a renter in need of extra storage in your kitchen, a hutch can be a practical and visually appealing solution. Additionally, DIY enthusiasts who enjoy crafting their own furniture will find building a hutch to be a rewarding and fulfilling project.
When Should You Consider Building a DIY Hutch?
⏰ There are various situations where building a DIY hutch can be an ideal option. If you find your current storage solutions to be inadequate or if you’re looking to revamp your living space with a functional and unique piece of furniture, now might be the perfect time to consider building a hutch. Additionally, if you enjoy DIY projects and are looking for a new challenge, building a hutch can be a great way to put your skills to the test.
Where Can You Place Your DIY Hutch?
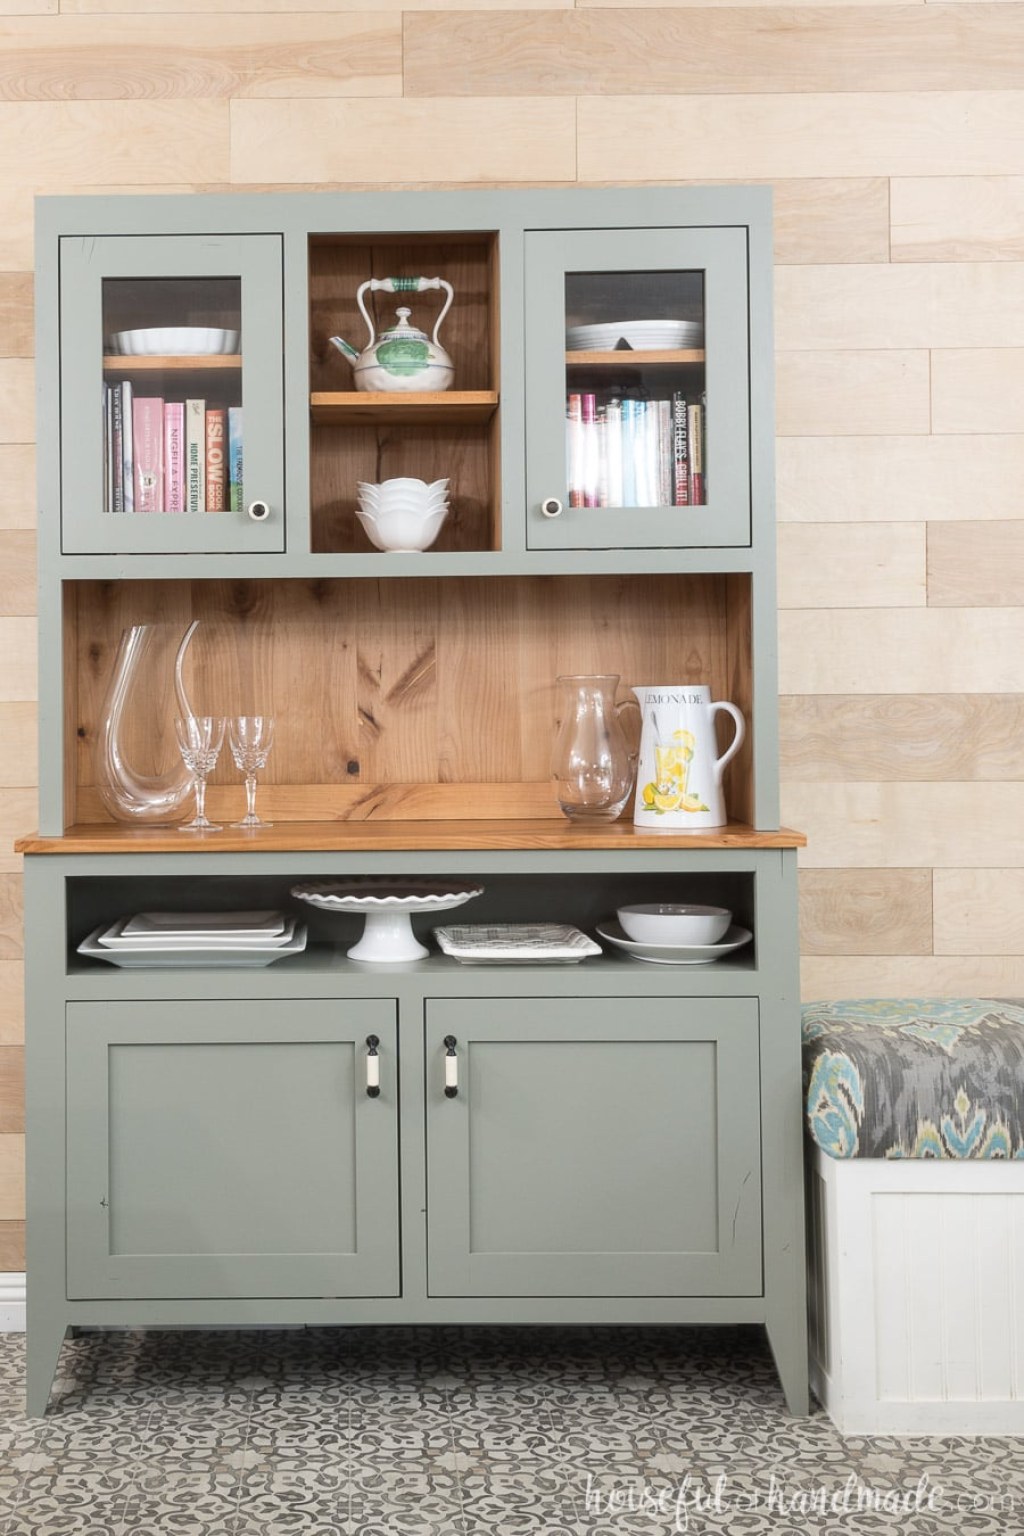
Image Source: housefulofhandmade.com
📍 A DIY hutch can be placed in various rooms of your home, depending on your specific needs and preferences. Common locations include the living room, dining room, kitchen, or even a home office. The versatility of a hutch allows you to adapt it to any space, making it a practical addition to any room in your home.
Why Choose a DIY Hutch Over Pre-Made Options?
❓ While pre-made hutch options are readily available in furniture stores, opting for a DIY hutch offers several advantages. Firstly, building your own hutch allows you to customize the design and dimensions to perfectly fit your space and style preferences. Secondly, DIY hutch projects can be more cost-effective compared to purchasing a pre-made one. Lastly, the sense of accomplishment and pride that comes with building your own furniture is unparalleled.
How to Build Your Own DIY Hutch: Step-by-Step Guide
🔧 Building your own DIY hutch may seem like a daunting task, but with the right materials and guidance, it can be a fun and rewarding project. Here is a step-by-step guide to help you get started:
Step 1: Gather the Materials
Before you begin, make sure you have all the necessary materials and tools. This may include wood, screws, a drill, a saw, sandpaper, paint or stain, and any additional decorative elements you desire for your hutch.
Step 2: Measure and Plan
Measure the area where you plan to place your hutch and create a detailed plan. Consider the dimensions, design, and layout of your hutch to ensure it fits seamlessly into your space.
Step 3: Cut and Assemble the Frame
Using your measurements, cut the wood pieces for the frame of your hutch. Assemble the frame using screws and a drill, ensuring it is sturdy and level.
Step 4: Add the Shelves or Cabinets
If you prefer open shelves, measure and install them according to your desired spacing. If you prefer cabinets, measure and cut the doors and attach them to the frame. Make sure they open and close smoothly.
Step 5: Sand and Finish
Once the basic structure is complete, sand down any rough edges and surfaces. Apply paint or stain to achieve your desired finish. Don’t forget to let it dry completely before moving on to the next step.
Step 6: Add Decorative Elements
If desired, add any decorative elements such as trim, molding, or hardware to enhance the appearance of your hutch. This step allows you to personalize your creation and make it truly unique.
Step 7: Final Touches
Inspect your hutch and make any necessary adjustments or touch-ups. Clean the surfaces and position it in your desired location. Now, it’s time to enjoy your newly built DIY hutch!
Advantages and Disadvantages of Building a DIY Hutch
👍 While building a DIY hutch offers numerous benefits, it’s essential to consider both the advantages and disadvantages before embarking on the project. Here are some key points to keep in mind:
Advantages:
1. Customization: Building your own hutch allows you to tailor the design to your specific style and storage needs.
2. Cost Savings: DIY hutch projects can be more budget-friendly compared to purchasing a pre-made option.
3. Sense of Achievement: Completing a DIY project can be incredibly rewarding and satisfying.
4. Unique and Personalized: Your DIY hutch will be one-of-a-kind, reflecting your creativity and personality.
5. Learning Experience: Building a hutch provides an opportunity to enhance your DIY skills and learn new techniques.
Disadvantages:
1. Time and Effort: DIY projects require time, patience, and effort to complete, especially if you’re new to woodworking.
2. Skill Level: Depending on the complexity of the design, certain woodworking skills may be required.
3. Limited Warranty: Unlike store-bought furniture, DIY hutch projects typically do not come with warranties or guarantees.
Frequently Asked Questions about DIY Hutch
Q1: How long does it take to build a DIY hutch?
A1: The time required to build a DIY hutch depends on factors such as the complexity of the design, your skill level, and available time. It can range from a few days to a couple of weeks.
Q2: Do I need special tools to build a DIY hutch?
A2: Basic woodworking tools such as a saw, drill, and sandpaper are generally sufficient for building a DIY hutch. However, more advanced tools may be required for intricate designs.
Q3: Can I modify the dimensions of the hutch to suit my space?
A3: Absolutely! One of the advantages of building a DIY hutch is the ability to customize the dimensions to perfectly fit your space and storage needs.
Q4: Can I paint or stain my DIY hutch?
A4: Yes, you can paint or stain your DIY hutch to achieve your desired finish. Make sure to choose a paint or stain that is suitable for the type of wood you are using.
Q5: Is building a DIY hutch suitable for beginners?
A5: Building a DIY hutch can be a challenging project for beginners, but with proper research, guidance, and patience, it is definitely achievable. Start with simpler designs and gradually work your way up to more complex ones.
Conclusion
In conclusion, building a DIY hutch can be a rewarding and fulfilling project for any fashion enthusiast. With careful planning, the right materials, and a bit of creativity, you can create a stunning and functional piece of furniture that perfectly fits your space and style. Whether you’re looking to declutter your living room or add storage to your kitchen, a DIY hutch offers the perfect solution. So, why wait? Start gathering your materials and embark on this exciting DIY journey today!
Final Remarks
Disclaimer: The information provided in this article is for general informational purposes only. We cannot guarantee the accuracy, completeness, or reliability of the information provided. Any action you take upon the information in this article is strictly at your own risk, and we will not be liable for any losses or damages in connection with the use of this article. Consult a professional for expert advice and guidance specific to your DIY project.
This post topic: Hutch


